Color Theory, Tone and Perspective
Adobe Photoshop Basic 2 Class
Read More
Adobe Photoshop Retouching Tutorials

This video is available Free for Everyone.
Running Time: 15 minutes
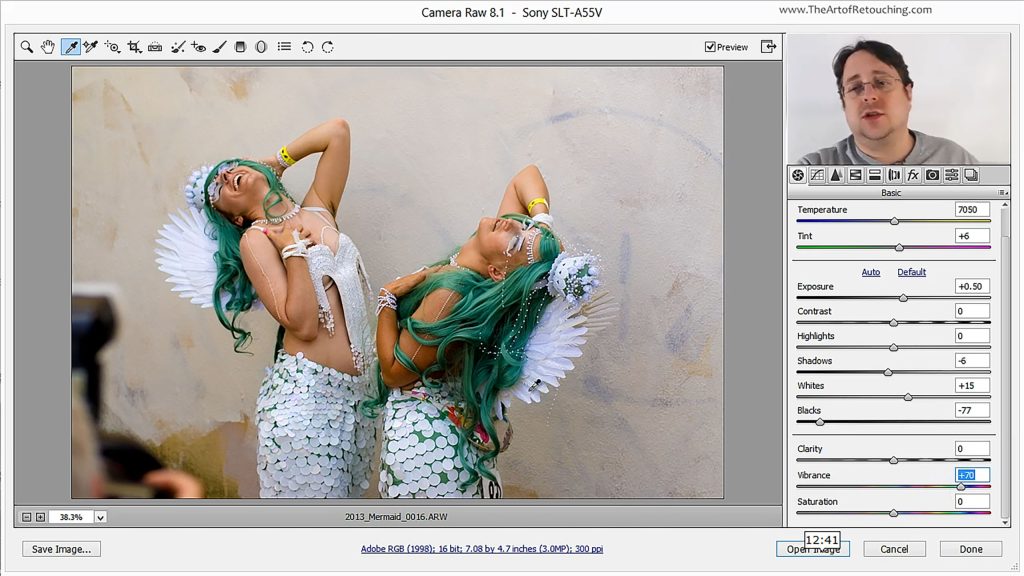
The wonderfully convenient thing about Camera Raw, is that it’s incredibly easy to learn your way around it. Its simple interface and easy to use tools will only take minutes to get the hang of; as opposed to taking many hours trying become barely competent in Photoshop. You’ll see just how effortless it is to retouch your raw photos. So open up one of your raw images in Photoshop’s Camera Raw and let’s get started.
This video is available Free for Everyone.
Running Time: 7 minutes
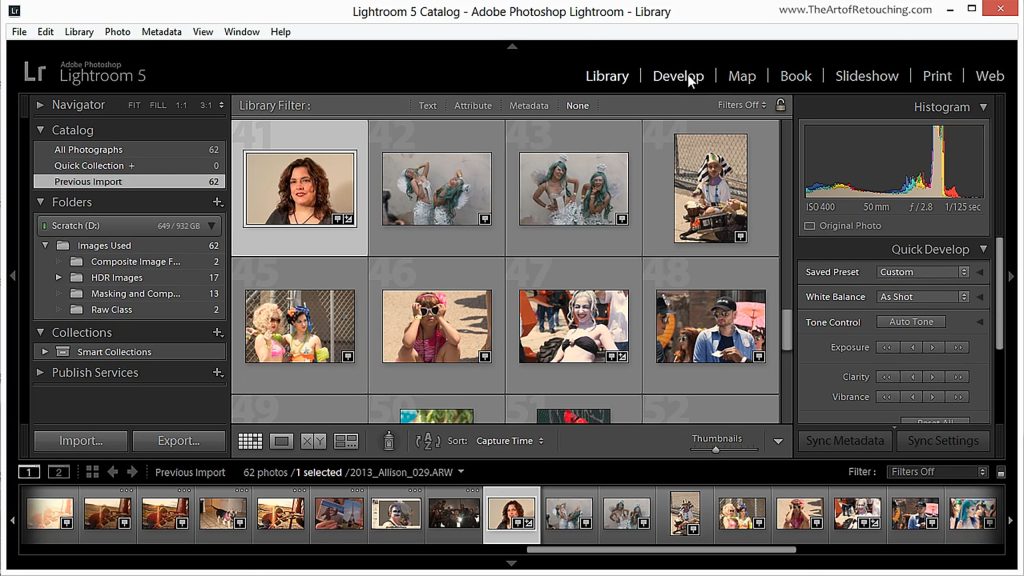
Many people wonder what the differences are, between Camera Raw, Photoshop, and Lightroom. To be clear, each one serves a very different function in your Post-Production Workflow.
Lightroom is a database that displays your images as thumbnails so that you can organize them into collections, tag them with metadata, and easily export batches out for web, slideshows or print. Lightroom and Camera Raw are both raw processors. Camera Raw is built into Photoshop and allows for quick raw processing. Lastly, Photoshop is a powerful image editing software used to handle the small details.
This video is available Free for Everyone.
Running Time: 5 minutes
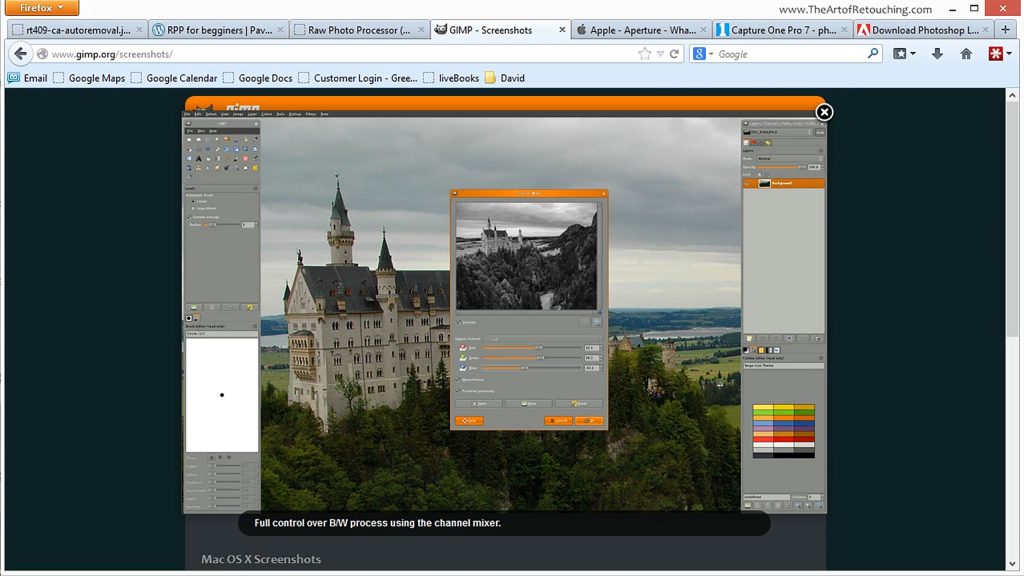
We’ve spent quite a bit of time playing around with the RAW format, so it’s only practical for us to go over a quick overview of the various RAW processors in the market today.
There’s a variety of choices out there, so don’t feel like your options are limited. While these are something we are not necessarily recommending over Photoshop’s built-in Camera Raw, it’s still good to lay it all out for you to have a choice.
This video is available Free for Everyone.
Running Time: 12 minutes
This is a longer Tutorial for those who want to learn more about the product. For those with limited attention spans, I have a shorter version at this Imagenomic Portraiture Tutorial Condensed page. While the content is the same at it's core, this version here is a bit longer, and goes into more detail on how I use the software.
But, why do I use Imagenomic Portraiture? Because creating professional-looking portraits doesn’t need years of Photoshop experience. In this fast-paced world of mass picture-taking and high-speed photo sharing, nobody has the time to painstakingly retouch every detail in every image. I know I certainly don't, time is money.
Thankfully, Imagenomic Portraiture saves the day with the easiest way to make significant portrait changes in mere
Read More
This video is available Free for Everyone.
Running Time: 4 minutes
This is a shortened Tutorial for people who want a quick tutorial. For those who want to learn more, I have a longer version at this Imagenomic Portraiture Tutorial Extended page. While the content is the same at it's core, the version here is less than half the time, and focuses on the most important details of how I use the software.
But, why do I even use Imagenomic Portraiture? Because it makes my job faster, and my life easier. Creating professional-looking portraits doesn’t require years of Photoshop knowledge. In this fast-paced world, where time is money, nobody wants to painstakingly retouch every detail in every image. I know I certainly don't.
Thankfully, Imagenomic Portraiture is the easiest and fastest way to make significant portrait
Read More