The Art of Retouching

Adobe Photoshop Retouching Tutorials

Photoshop Class Schedule
  • About
  • Articles
  • Photoshop Tutorials
    • Behind The Retouching
    • Digital Fundamentals
    • Retouching Basics
    • Retouching Intermediate
    • Retouching Advanced
  • Reviews
  • PodCast
  • Portfolio
  • Profile

Behind The Retouching | Felipe Buccianti

October 2, 2014 by John Ross

Behind The Retouching | Felipe Buccianti

Behind The Retouching | Felipe Buccianti

This video is available Free with Membership.
Running Time: 47 minutes

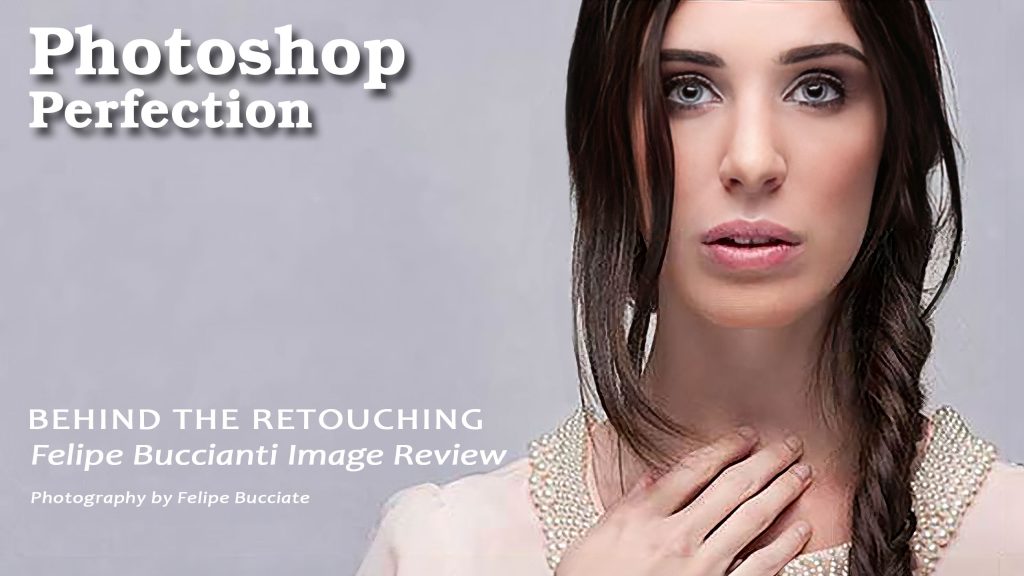
Welcome to Behind the Retouching, an exclusive behind-the-scenes look at what goes on in an actual photo retouching session. In this professional avenue, I will be breaking down my students’ submissions, suggesting areas for improvement, and recommending adjustments that I would have done differently in order to create a better image.

For this session, I will be critiquing the work of photographer and retoucher Felipe Buccianti. This is a wonderful opportunity for everyone to better understand the rationale behind what I do and which tools I use, so if you’re looking to evaluate your own work, you can check out my pointers below and see how they apply to your own images.

 
Read More

Filed Under: Behind The Retouching, Retouching Intermediate

Rulers and Guides | Photoshop Beginner’s Tutorial

September 16, 2014 by John Ross

Photoshop Tutorial - Rulers and Guides

Rulers and Guides | Photoshop Beginner’s Tutorial

This video is available Free for Everyone.
Running Time: 2 minutes

When working in Photoshop, while most of it is creative, sometimes you will want to be as accurate as you possibly can. Rulers and guides come in handy because they help you create specific points in your image that you may want to refer to at a later point in time.

 
Read More

Filed Under: Retouching Basics

Magic Wand and Quick Selection | Photoshop Beginner’s Tutorial

September 9, 2014 by John Ross

Magic Wand and Quick Selection Tools

Magic Wand and Quick Selection Tools

This video is available Free for Everyone.
Running Time: 6 minutes

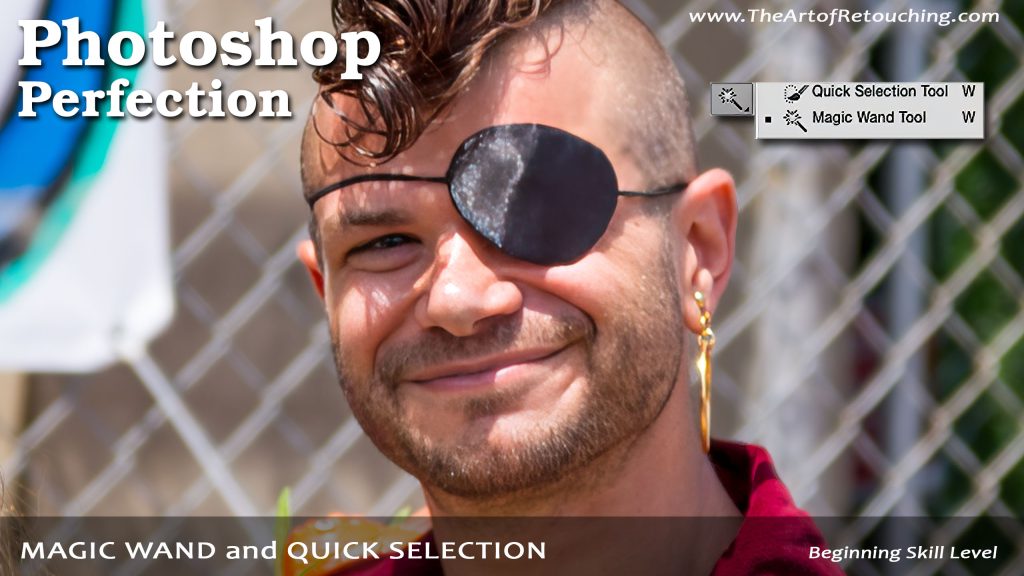
Aside from the Lasso-based tools, we can also use the Magic Wand when it comes to making selections in Photoshop. You can press and hold the Quick Selection Tool to choose the Magic Wand Tool. When you click on a section in your image, it selects an area based on the range of colors that your provide, limited by the value of your Tolerance in the Options bar. Photoshop’s default Tolerance is 32, but you can increase or decrease that value to grab more areas at once or less areas at once respectively.

 
Read More

Filed Under: Retouching Basics

Behind The Retouching | John Ross – Celestial

September 4, 2014 by John Ross

Behind The Retouching | John Ross - Celestial

Behind The Retouching | John Ross - Celestial

This video is available with Free Membership.
Running Time: 23 minutes

Welcome and thank you for visiting. In this Behind the Retouching session, I sit down and take you through what goes on when I work on composite retouching. As commissioned by Advanced Photoshop Magazine for issue #126, I will show you some basic retouching combined with advanced compositing techniques in order to give everyone a wonderful opportunity to better understand the rationale behind what I do and which tools I use.

 
Read More

Filed Under: Behind The Retouching, Retouching Advanced

Behind The Retouching | Ramel Adjibi

September 3, 2014 by John Ross

Behind The Retouching | Ramel Adjibi

Behind The Retouching | Ramel Adjibi

This video is available with Free Membership.
Running Time: 40 minutes

Welcome to Behind the Retouching, a professional avenue where I can mentor and critique the work of my students, as well as discuss individual techniques in detail. For each session, I will be breaking down my students’ submissions, suggesting areas for improvement and recommending adjustments that I would have done differently in order to create a better image.

For this session, I’ll analyze the work of Ramel Adjibi. This is a wonderful opportunity for everyone to better understand the rationale behind what I do and which tools I use. So if you’re a passionate and elite retoucher who wants to master the Art of Retouching, check out my pointers below regarding the image, and I’m sure you will be able to relate.

 
Read More

Filed Under: Behind The Retouching, Retouching Intermediate

Lasso, Polygonal Lasso, Magnetic Lasso | Photoshop Beginner’s Tutorial

August 28, 2014 by John Ross

Lasso, Polygonal Lasso, Magnetic Lasso Tools

Lasso, Polygonal Lasso, Magnetic Lasso Tools

This video is available Free for Everyone.
Running Time: 10 minutes

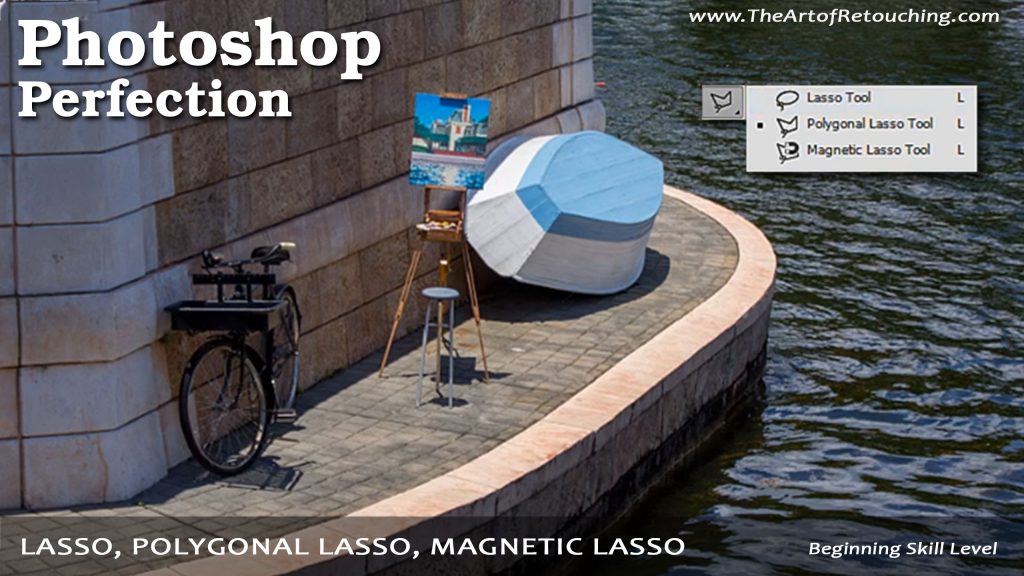
The purpose of making a selection, is so that you can make changes within a limited, and controlled area.There are a variety of tools you should consider when making selections in your image. There are several that will allow you make direct selections by drawing them, and a few that let you make your selections based on color.

I will preface this by saying that make generic selections like this might create what is called a Layer Mask, none of the techniques I am going to talk about are ones that I would teach to my students. they are simplistic, and will not yield optimal results. The reason I am talking about them with you now, is because they are an easy way to get you to your end goals. While they are not the best, they are simply the easiest for you to get started with.

 
Read More

Filed Under: Retouching Basics

Selective Color | Photoshop Beginner’s Tutorial

August 21, 2014 by John Ross

Photoshop Tutorial - Selective Color Adjustment Layer

Photoshop Tutorial - Selective Color Adjustment Layer

This video is available Free for Everyone.
Running Time: 6 minutes

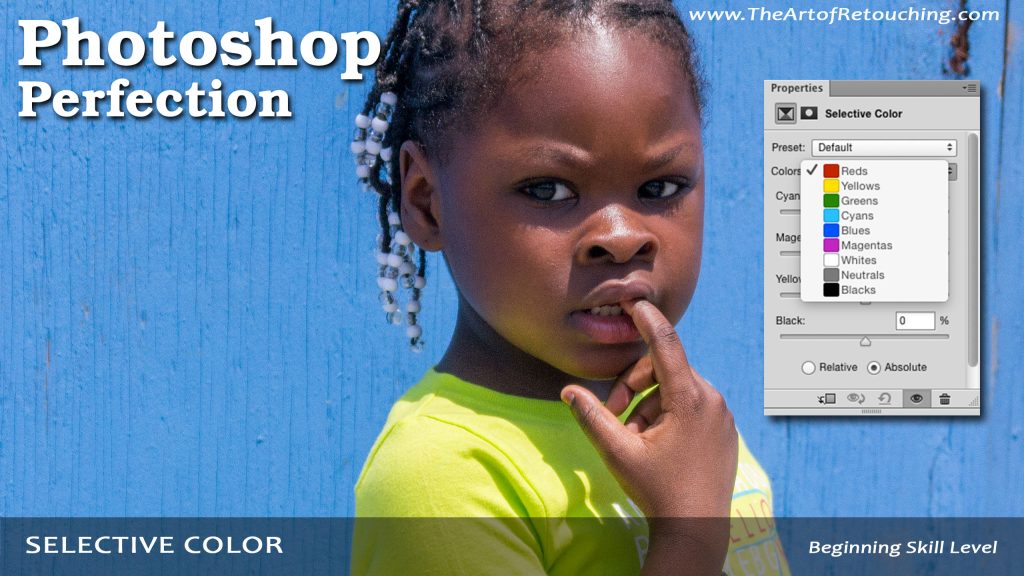
Selective Color is the go-to tool for simple color correction. Little need for masking, and no confusing RGB sliders. You just need someone to give you a little direction, and you will find how easy this tool can be.

As with the other Adjustment Tools, you can find it with the Adjustments Palettee, which is found within Window – Adjustments. The second way is at the bottom of the Layers Palette, with the Black and White Circle icon for New Adjustment Layers. Lastly, it’s also in Layer – New Adjustment Layer – Selective Color.

 
Read More

Filed Under: Retouching Basics

Vibrance | Photoshop Beginner’s Tutorial

August 13, 2014 by John Ross

Photoshop Tutorial - Vibrance Adjustment Layer

Photoshop Tutorial - Vibrance Adjustment Layer

This video is available Free for Everyone.
Running Time: 4 minutes

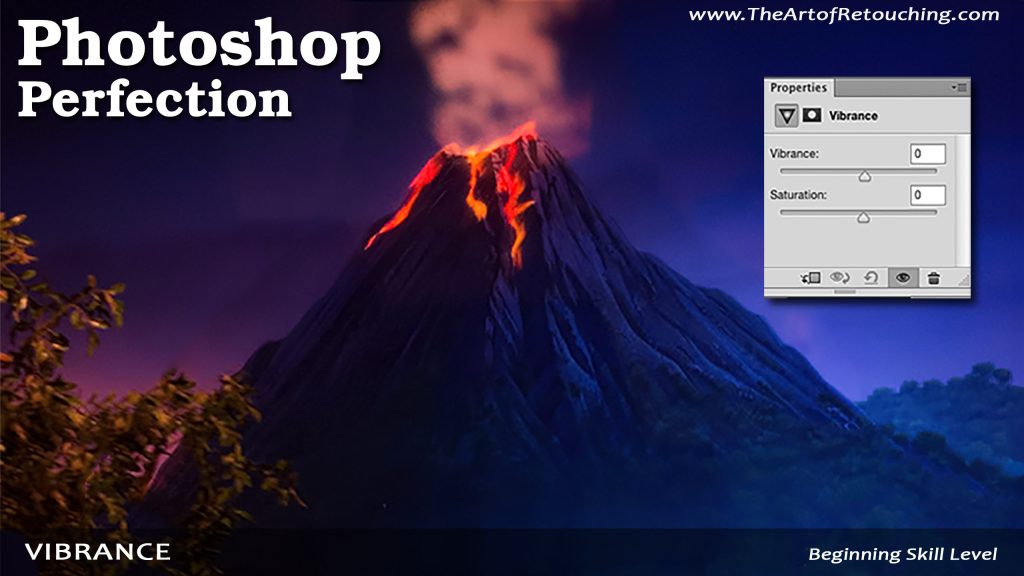
Let’s say you have an image that’s looking pretty pale. When you want to adjust the saturation of an image, I normally don’t recommend using the Saturation Adjustment. Instead, what we’ll be using is the Vibrance Adjustment, because it has Saturation included, and gives you more control over your adjustments. Over at the Adjustments Palette, you can select the Vibrance icon. You can also find it at the bottom of your Layers Palette, as well as in Layer – New Adjustment Layer – Vibrance.

 
Read More

Filed Under: Retouching Basics

Levels | Photoshop Beginner’s Tutorial

August 7, 2014 by John Ross

Photoshop Tutorial - Levels Adjustment Layer

Photoshop Tutorial - Levels Adjustment Layer

This video is available Free for Everyone.
Running Time: 6 minutes

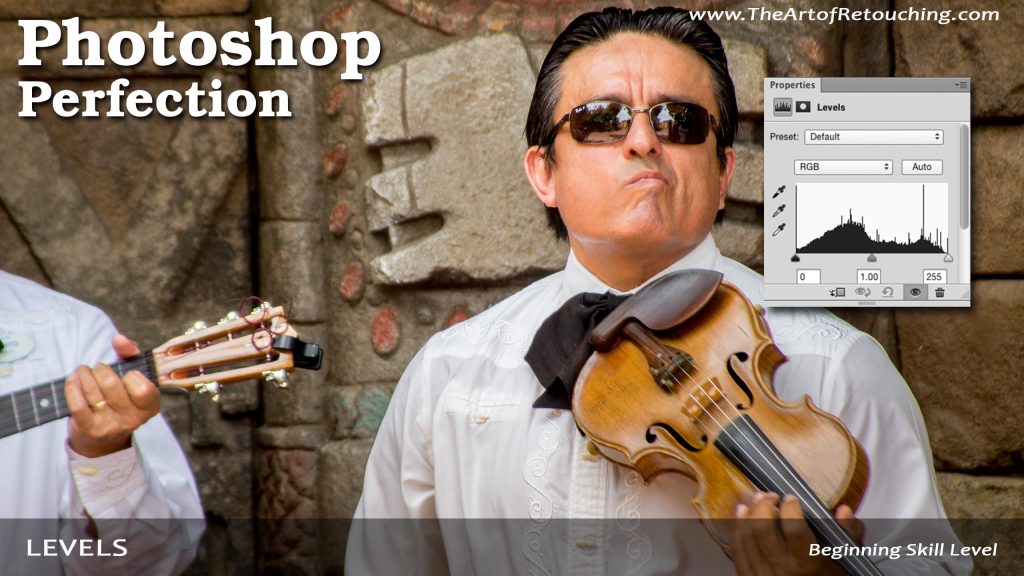
When you want to create tonal changes the easiest and simplest way possible, your best bet is to use Levels. Simply go over to the Adjustments palette (or if it isn’t open yet, go to Window – Adjustments). There, click on the icon that says “Levels”. Another way would be to go to the Layers palette and click on the Black/White Circle icon that says “Create new fill or adjustment layer”. Finally, a third way of doing it is to go over to Layer – New Adjustment Layer – Levels.

 
Read More

Filed Under: Retouching Basics

Adjustment Layers | Photoshop Beginner’s Tutorial

July 13, 2014 by John Ross

Photoshop Tutorial - Adjustment layers

Photoshop Tutorial - Adjustment layers

This video is available Free for Everyone.
Running Time: 5 minutes

Adjustment Layers work like tinted sheets of glass that you overlay on top of your image one at a time. It’s kind of like a tinted or colored light bulb. You can turn on/off the effect, or adjust the values as a separate layer on top of your original image background layer. For instance, on top of your base layer (original image), we can make tone adjustments as well as color adjustments. Each of these adjustments will be placed on separate layers, on top of your original background image.

Because you’re working on a separate layer for all these adjustments, you are not causing any permanent damage to your original background base image. You are effectively preserving it pixel by pixel in case you need to undo your changes later. As an example, when you click on one of the icons in the  
Read More

Filed Under: Retouching Basics

« Previous Page
Next Page »

Member Login

Email:
Password:
Remember   

Forgot Password

Basic Membership

FREE MEMBERSHIP Free Photoshop Basic Class Portraits, Camera Raw and Smart Objects Free Photoshop Class Portraits, Camera Raw and Smart Objects Free Photoshop Class BASIC MEMBERSHIP Photoshop Tools and Palettes Tutorial How to Clone in Photoshop Tutorial Masking Simplified Complete Smart Objects Photoshop Class PREMIUM MEMBERSHIP Learn Photoshop Basic One Course Video Learn Photoshop Basic Two Course Video Learn Photoshop Intermediate Course Video

Popular Videos

Bit Depth - 8 vs 16 Bit

Masking in Photoshop

All Photoshop Tutorials

Color Spaces and Models

Find Retouching Work

Photoshop Classes

Portraits, Raw, and Smart Objects

Retouching Super Basics

Photoshop Basic One Course

Professional Masking

Social Links

  • About
  • Premium Content
  • Photoshop Courses
  • Contact Form
  • Membership Profile
  • FAQ – Q&A
  • Privacy Policy
  • No-Hassle Refund
  • SiteMap
© 2024 The Art of Retouching Studio - Photoshop Retouching Tutorials