Photoshop Intermediate Introduction
Adobe Photoshop Intermediate Class
Read More
Adobe Photoshop Retouching Tutorials


This video is available Free for Everyone.
Running Time: 6 minutes
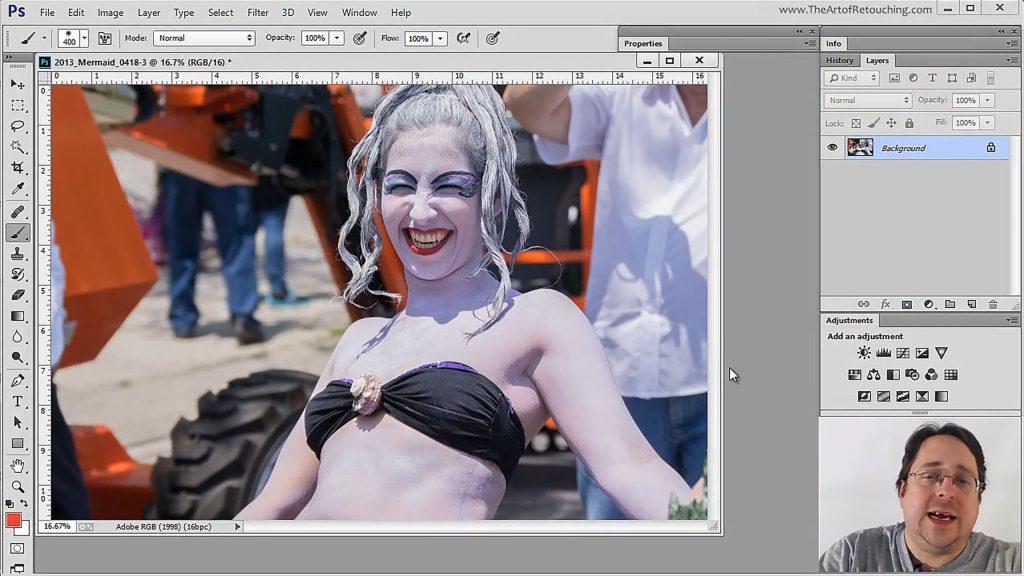
This short clip will teach you all about Camera Raw Filter, a powerful tool available in Photoshop CC. It basically lets you treat a pixel-based image as a raw file and make adjustments to it. How does that happen?
This video is available Free for Everyone.
Running Time: 14 minutes
After all of the techniques and tools that we talked about, you are now ready to see all these concepts applied into a single image. This tutorial will show you how to actually retouch a photo using all the knowledge you’ve just acquired, all done in a truely non-destructive workflow.
This video is available Free for Everyone.
We’ve discussed the wonder of Smart Objects, but it does get confusing for some people, especially for a beginner. This tutorial will teach you workarounds when it comes to working with Smart Objects, and will get rid of your fear of meddling with these seemingly tricky situations.
This video is available Free for Everyone.
Running Time: 10 minutes
This session will tell you all about the magic of Smart Objects and Smart Filters. For any retoucher, it’s important to develop a non-destructive workflow. Smart Objects and Smart Filters will give you the ability to go back and forth between your actions without permanently damaging your photo.
For example, after many hours of work, I had 7 images needed to be blown up approximately 170%. The client failed to mention that part. Instead of having to blow up pixel data, or start over again; I was able to simply go back to Camera Raw, and output the images blown up (which were way sharper than Photoshop’s pixel data). Simply dragging over the existing Adjustment Layers, Masks, and Smart Filters; I was able to give the sharpest image possible, without much trouble.
This video is available Free for Everyone.
Running Time: 10 minutes
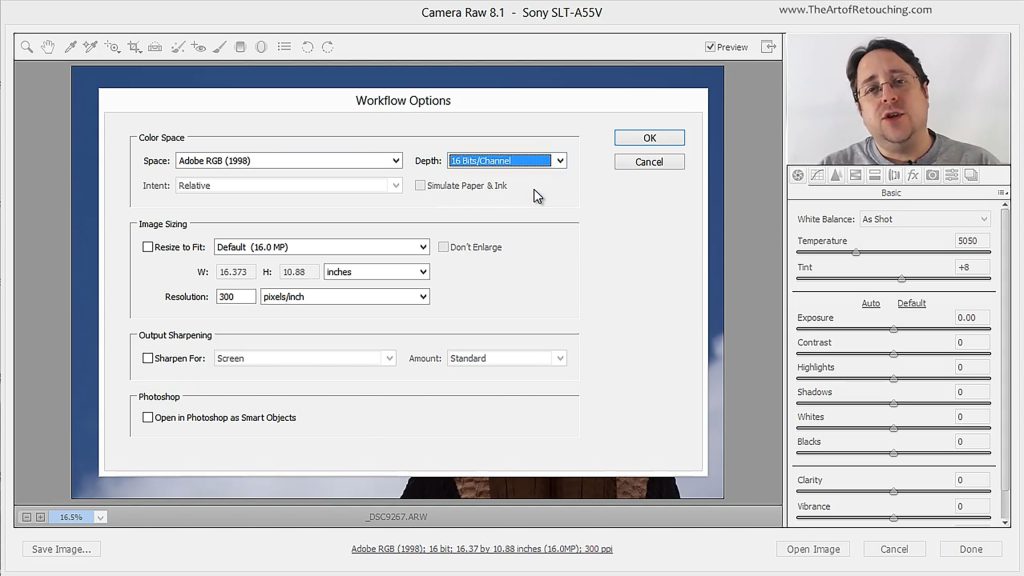
Because of all the fancy tools that Camera Raw comes packed with, it’s easy to overlook certain settings that are actually very important. This tutorial will briefly go over the significance of knowing how Camera Raw exports images to Photoshop. Determining your output options will make the work that you do, whether it’s for printing or for magazines or simply for web display, much more convenient.
Below your image in Camera Raw, you will see a line of blue text that tells you specific details about your picture. Clicking on this blue text opens up the “Workflow Options” dialog box, where you can set up your color profile, bit depth, image size, etc.
This video is available Free for Everyone.
Running Time: 16 minutes
This Photoshop tutorial teaches you how to isolate certain areas of a photo using Local Adjustments in Camera Raw. Does one cheek of your model look a little too flushed? Is a particular part of the leg covered in unnecessary shadows? You can make your changes specifically to that section alone, without affecting the other areas of your image.
This video is available Free for Everyone.
Running Time: 4 minutes
This Photoshop Tutorial teaches you the difference between opening up a raw file from Camera Raw as “Open Image” or as “Open Object”. While the former opens up your image as it is, the latter lets you make changes on your raw files , even after you have started working in Photoshop.
It does this by opening up your images as Smart Objects. Even if you do not fully use the power of Smart Objects, this tutorial will show you how, even in the simplest method possible, it will easily change the way you work on your images in Photoshop.